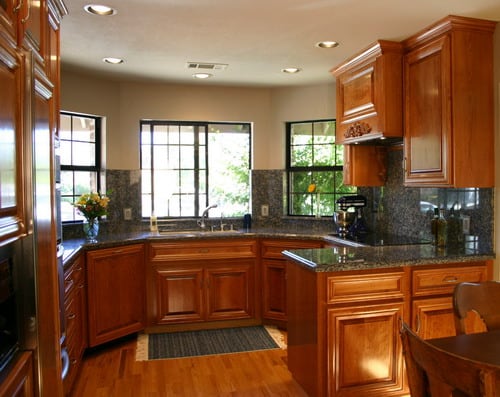
Kitchen Cabinet Remodeling – Remodeling and repainting your ’50s kitchen cabinets can breathe new life into your kitchen. Whether you want to restore the cabinets to their vintage glory or bring them into the 21st century, a new coat of paint and some new hardware can transform even the most dated cabinets into something fresh and attractive.
Kitchen Cabinet Remodeling Tips
Test for Lead
Before you begin working on your cabinets, have them tested for lead. Lead paint was common in the ’50s, and your cabinets may have been painted numerous times since they were first produced. If your cabinets do contain lead, you will want to take extra precautions when removing the doors to prevent the paint dust from becoming a hazard. Cover all surfaces with tarps or paper for easy cleanup. Where a dust mask and gloves. Strip the old paint before applying new paint. An alkaline-based paste stripper that clings to lead dust can help make it safe to strip off the old paint before applying a fresh coat.

Remove the Hardware
In addition to giving the cabinets a new coat of paint, all the old hardware should be replaced, including the cabinet pulls, knobs and hinges. The holes left behind by the hardware are filled with wood putty and sanded down prior to applying the primer and the paint to the cabinets. Once the cabinets are ready to be rehung, new holes are drilled for the hinges, knobs and pulls. This gives you the most flexibility for purchasing new hardware because you will not be forced to find new hardware that matches the exact size of the old.

Prime, Fill and Sand
Once any old paint has been taken off the cabinets, they can be primed and filled. A painted cabinet door looks best when it has a glassy, smooth surface. A primer that fills wood as you paint it on will help to create this surface for the paint. The type of primer will vary by the species of wood you have; have a door tested by the paint shop to determine the best type. Once the primer has been applied, it must be sanded down until it is perfectly smooth. To get a smooth finish, more than one coat may be required if the wood soaks up the primer.

Apply New Paint
Once the cabinets have been primed and sanded, they can have their new paint applied. The paint is brushed on for the greatest control, using a good quality nylon brush. The smoother the surface of the cabinets, the smoother the paint will go on. Plan on at least two coats of paint with a thorough drying in between. Once the last coat is applied, the new hardware can be installed and the doors rehung and drawers replaced. To help brighten up the interior of the old cabinets, contact paper is often used to hide the old wood and give the cabinets a more modern appearance.